
ONE CORE, TWO DIFFERENT COVERSTOCKS AND FINISHES
The Cove and Ember share the same Magna A.I. Core, giving you a consistent shape with two distinct reactions. We released them together so you can start strong with the Cove’s earlier read, then transition to the Ember’s cleaner, later motion as the lanes break down. Simple, strategic, and built to work together.
COVE
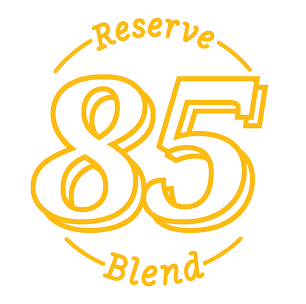
- Features RB 85™ Hybrid Reactive coverstock for earlier traction in the oil.
- 4000-grit Abralon® finish reads the midlane with control and consistency.
- Ideal for fresh oil or when you need a predictable shape early in your block.
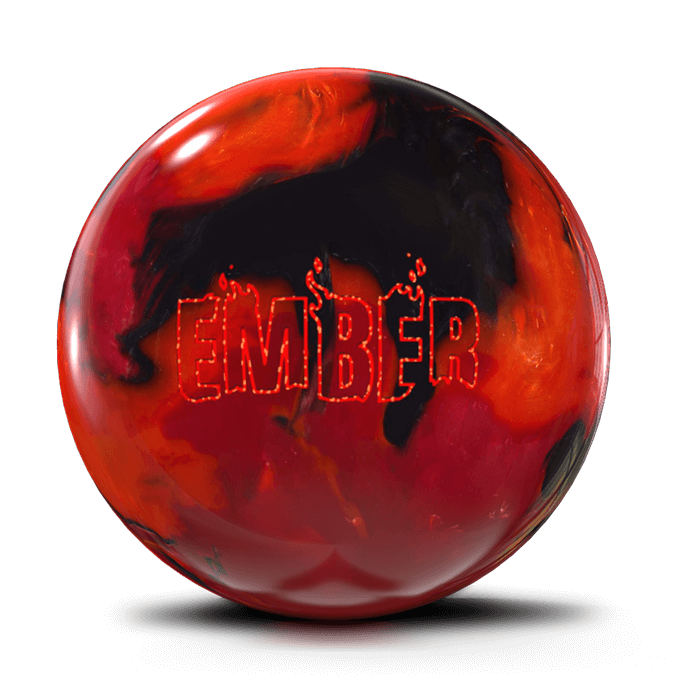
EMBER
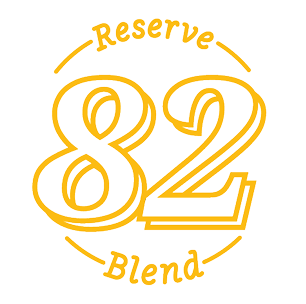
- Features RB 82™ Pearl Reactive for cleaner motion through the front.
- Power Edge™ finish saves energy and delivers a more aggresive backend motion.
- Best used when transition hits and the stronger ball starts reading too soon.
The differences between coverstocks can be subtle and sometimes hard to spot, even for experienced bowlers. What really matters is how those differences help you adjust your game and improve your scores. Knowing when to use the Cove or the Ember gives you an edge on the lanes. A good rule of thumb is to use the Cove on fresh lane conditions and switch to the Ember during or after the transition. But depending on your speed and style, that timing can vary.
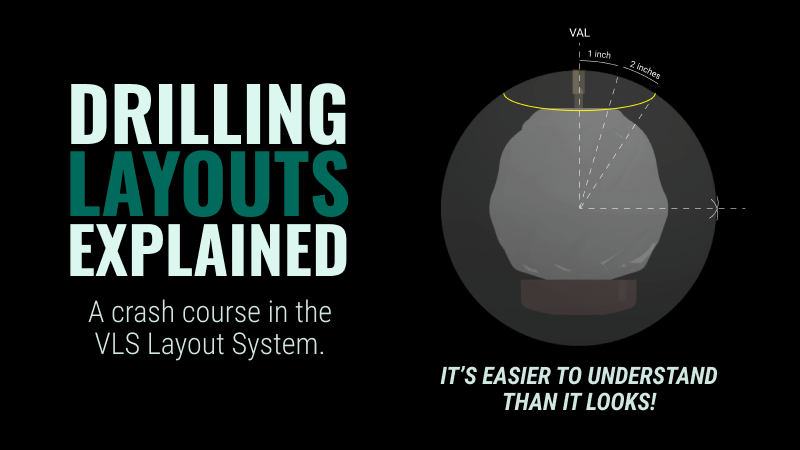
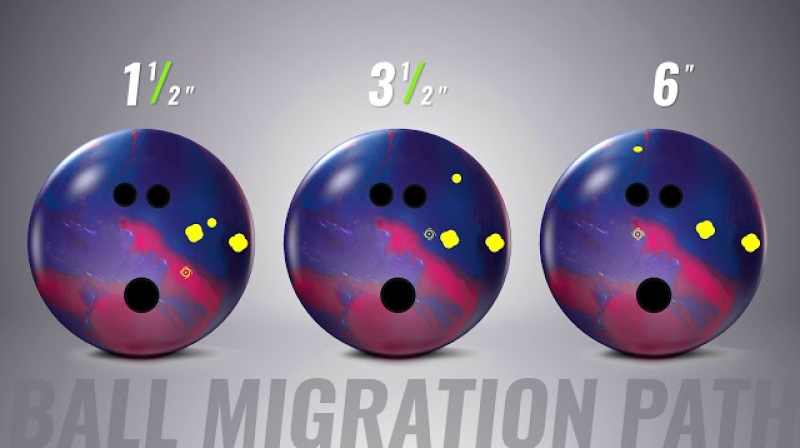
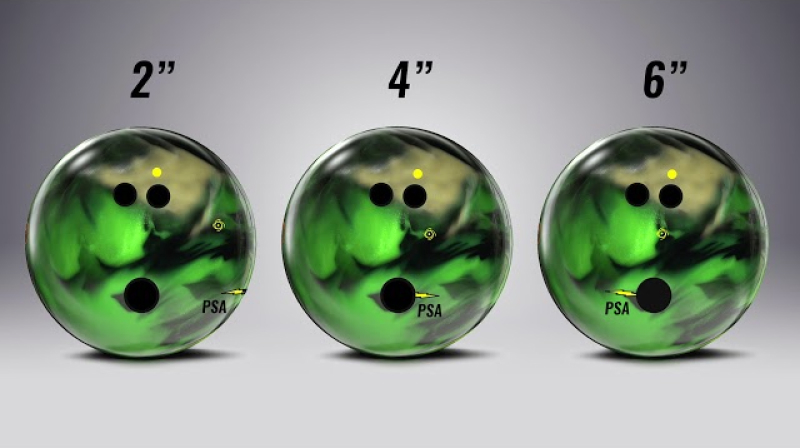
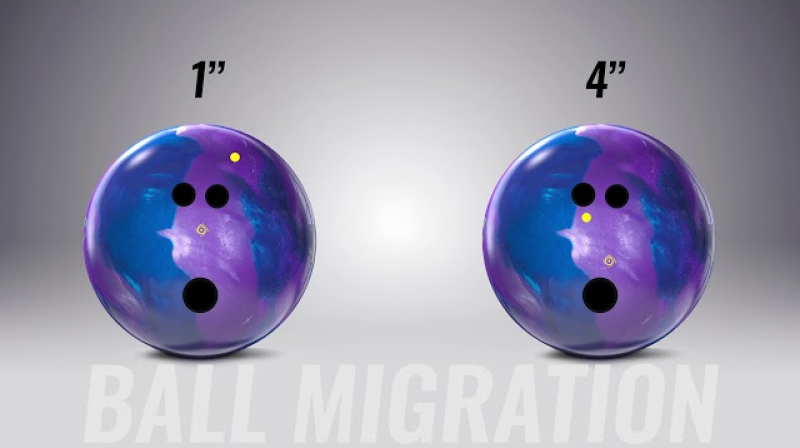
Equally important is choosing the right drilling layout. 900 Global’s goal is to simplify your layout conversation with your Pro Shop Operator and help you find one that matches your style perfectly. Click on the bowler closest to you on the chart below to hear how they use the Cove and Ember in their game — and see which layout they match with too.
Layout Pairings
Input your rev rate and speed—use the Tenpin Toolkit app to measure them if you're unsure. Then, see how your style compares to SPI staff and pros, and discover which layout best suits your game. We recommend bringing this layout to your Pro Shop Operator to discuss how it can be optimized for your individual needs.
TOGGLE TO VIEW OR HIDE LAYOUT RECOMMENDATIONS
Use Tenpin Toolkit to measure
Use Tenpin Toolkit to measure
Use Tenpin Toolkit to measure
KEY
Rev Dominant
Matched
Speed Dominant
TOGGLE TO VIEW OR HIDE LAYOUT RECOMMENDATIONS
REVOLUTIONS (REVS)
700
600
500
400
300
200
100
12
13
14
15
16
17
18
19
20
21
22
MEGAN HADLEY
NICHOLE THOMAS
ALEX HOSKINS
RYAN BARNES
DARIA PAJAK
ANDREW ANDERSON
CHAYTON
MITCH HUPE
6 x 5 x
4.5
5 x
4.5 x
3.5
4.5
x
2.5 x
2.5
5.5 x
4 x
3.5
4.5 x
4 x
2.5
4 x 3
x
1.5
5 x 3 x
2.5
4 x
3.5 x
1.5
3.5
x
3.5 x
0.5
SPEED IN MPH
Scroll sideways to explore the graph.
Your Results:
Matched
You are a matched bowler, with balanced speed and rev rate, giving you the versatility to adapt to a wide range of lane conditions.
Slightly Rev Dominant
You are a slightly rev dominant bowler, generating more revs than speed, so you might prefer smoother, more controlled shapes to keep your ball from hooking too early.
Rev Dominant
You are a rev dominant bowler, meaning your rev rate exceeds your speed, so you might prefer cleaner, weaker equipment to delay hook and maintain control through the lane.
Slightly Speed Dominant
You are a slightly speed dominant bowler, with just a bit more speed than revs, so you might prefer stronger covers or layouts that help create earlier motion.
Speed Dominant
You are a speed dominant bowler, meaning your ball speed outpaces your rev rate, so you might prefer earlier and stronger equipment to help your ball read the lane.
4 x 3 x 1.5
4.5 x 4 x 2.5
5 x 4.5 x 3.5
4.5 x 2.5 x 2.5
5.5 x 4 x 3.5
6 x 5 x 4.5
3.5 x 3.5 x 0.5
4 x 3.5 x 1.5
5 x 3 x 2.5
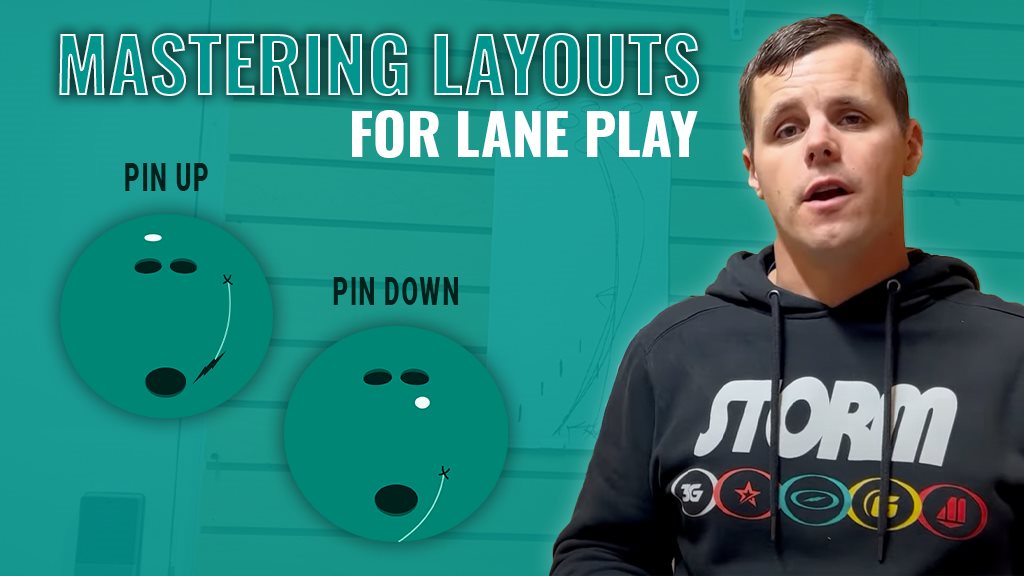
LEARN MORE ABOUT LAYOUTS
Dive into videos that explain layouts in greater detail.
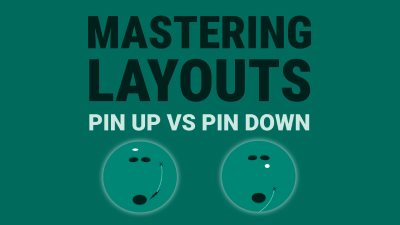
2:37
Mastering Layouts for Lane Play | Matt McNiel
8:37
Pin Buffer Layout System - Part 1: PIN-to-PAP Distance
8:12
Pin Buffer Layout System - Part 2: PSA-to-PAP Distance
8:12
Pin Buffer Layout System - Part 3: Pin Buffer Distance

COVE
EMBER
BOTH
FLARE POTENTIAL
Low
Medium
High
BALL SHAPE
Smooth
Angular
HOOK LENGTH
Early
Mid-Lane
Late
OIL VOLUME
Light
Medium
Heavy
PATTERN LENGTH
Short
Medium
Long
LANE CONDITION
Fresh
Transition
Burn