Unlock consistent ball motion with the right layout
Layouts control how a ball uses energy as it travels down the lane. They influence flare, transitions, and overall shape — making them one of the biggest factors in a reliable, confident reaction.
The same bowling ball can roll completely differently depending on its layout. Stronger layouts create earlier traction; weaker layouts produce more length and smoother transitions.
Layouts tune ball motion to your rev rate, speed, axis tilt, and the oil pattern — so your equipment matches your style and the conditions.
The right layout increases control and predictability, bringing out the full potential of the core and coverstock.
Choosing the right layout influences how your ball should store and release energy throughout the lane.
Speed-dominant bowlers benefit from stronger layouts that read earlier. Rev-dominant players prefer weaker, control-oriented layouts to avoid early hook.
Heavier or longer patterns call for earlier traction and stability. Shorter or high-friction environments require more length and smoother motion.
Benchmark layouts (like 5 × 4 × 2) create balanced, readable shapes. Strong layouts control fresh conditions; weaker layouts navigate friction and burn.
Layout numbers are applied from your Positive Axis Point — not the grip or finger holes. Without an accurate PAP you aren't getting the layout you think you're choosing.
Your Positive Axis Point (PAP) is the coordinate system used to place every layout. Without it, layout numbers cannot be applied correctly — and the ball will not react as intended.
Your PAP marks the point your ball rotates around as it leaves your hand. It's unique to your release and determines how layouts orient the core.
Numbers like 5 × 4 × 2 only make sense when measured from your PAP — not the finger holes or grip center.
Two bowlers can choose the same layout, but the holes appear in different places if their PAPs differ.
Without a measured PAP, the ball is drilled by guesswork. The intended layout is never actually created.
Controls flare potential
Controls stability & response strength
Controls transition speed
The most common combinations used across bowler types and conditions. Each changes the shape and timing of your ball motion.
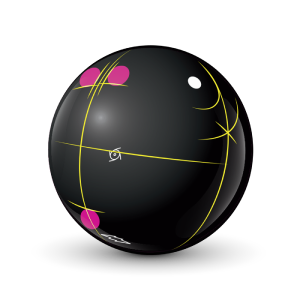
Low RG control layout. Best when lanes are flat and difficult. Very smooth off the end of the pattern with excellent predictability for all styles.
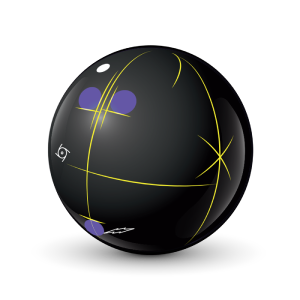
Weakest overall layout. Minimal flare with maximum length. Ideal on burn or extreme friction when control and length are required.
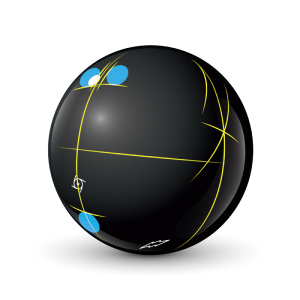
Clean through the fronts with smoother downlane motion. Ideal for higher-friction surfaces or when a controlled shape is needed.
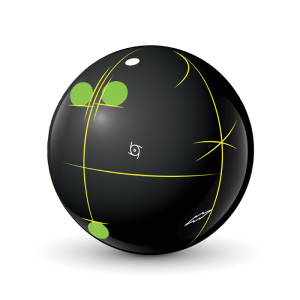
Earlier midlane roll with more forward motion downlane. Excellent for speed-dominant players needing stronger read.
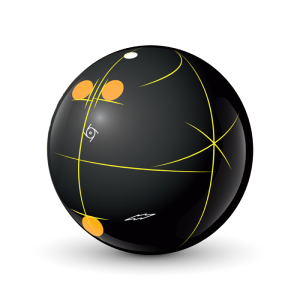
Balanced shape with predictable motion across almost all conditions. Ideal starting point for building a versatile arsenal.
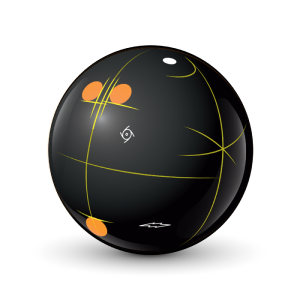
Strong midlane stability with controlled backend. Excellent for medium-to-heavy oil when a smoother, earlier roll is needed.
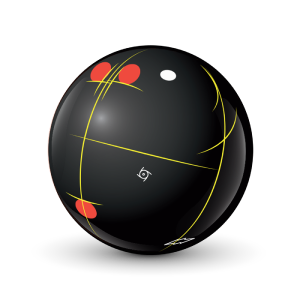
Very strong overall layout with high flare potential. Great for rev-dominant players needing earlier roll and more overall hook.
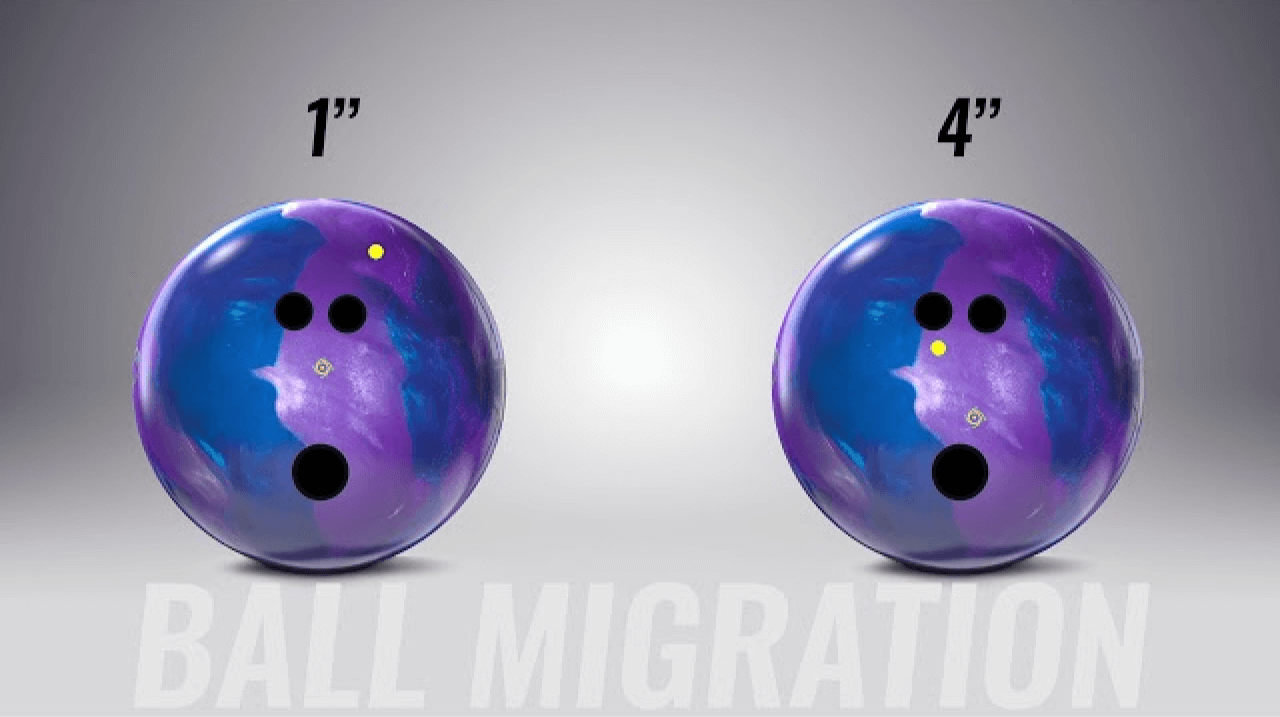 6:42
6:42
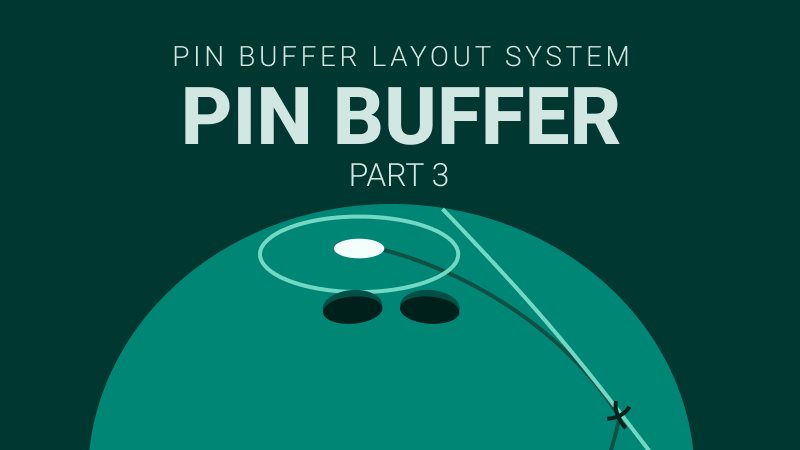
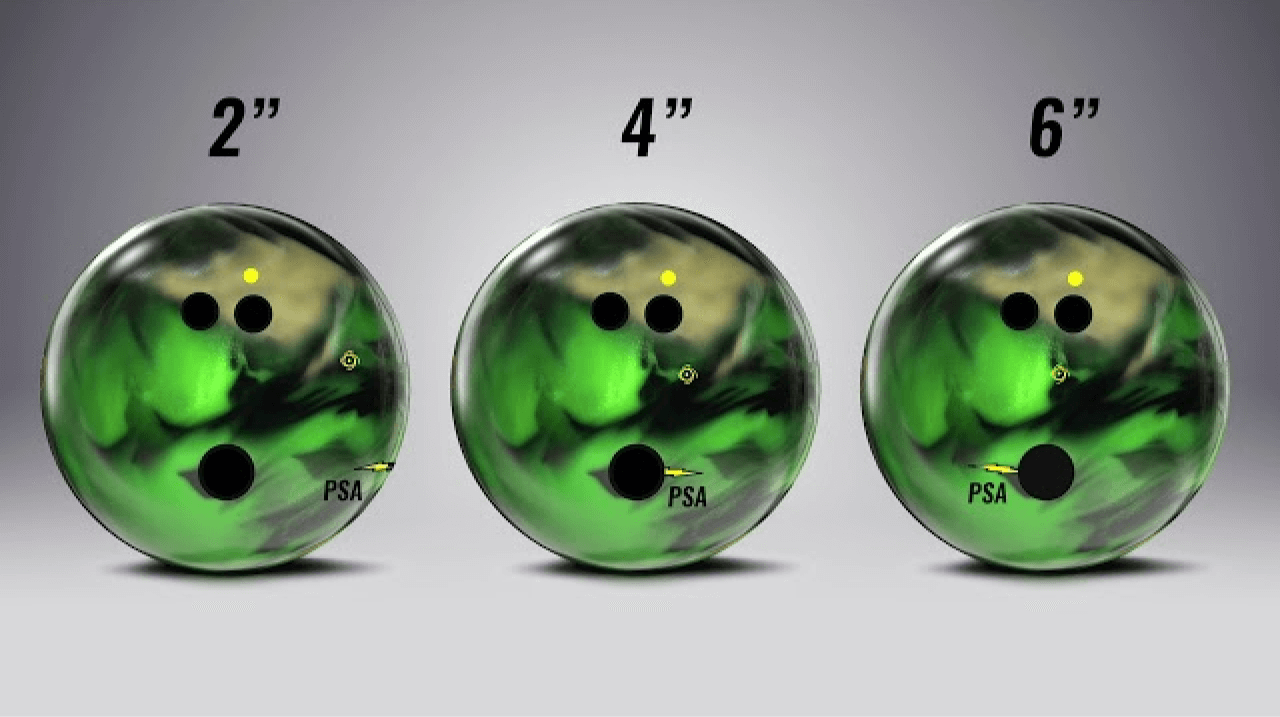
Pin Buffer Layout System Part 3: Pin Buffer Distance
 8:12
8:12
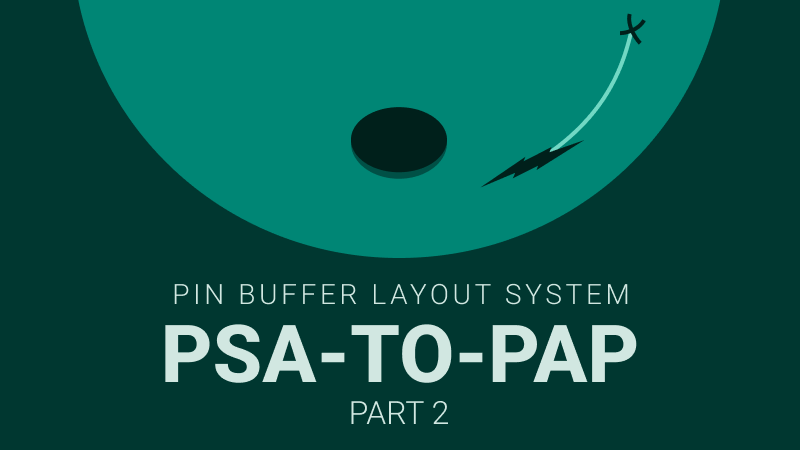
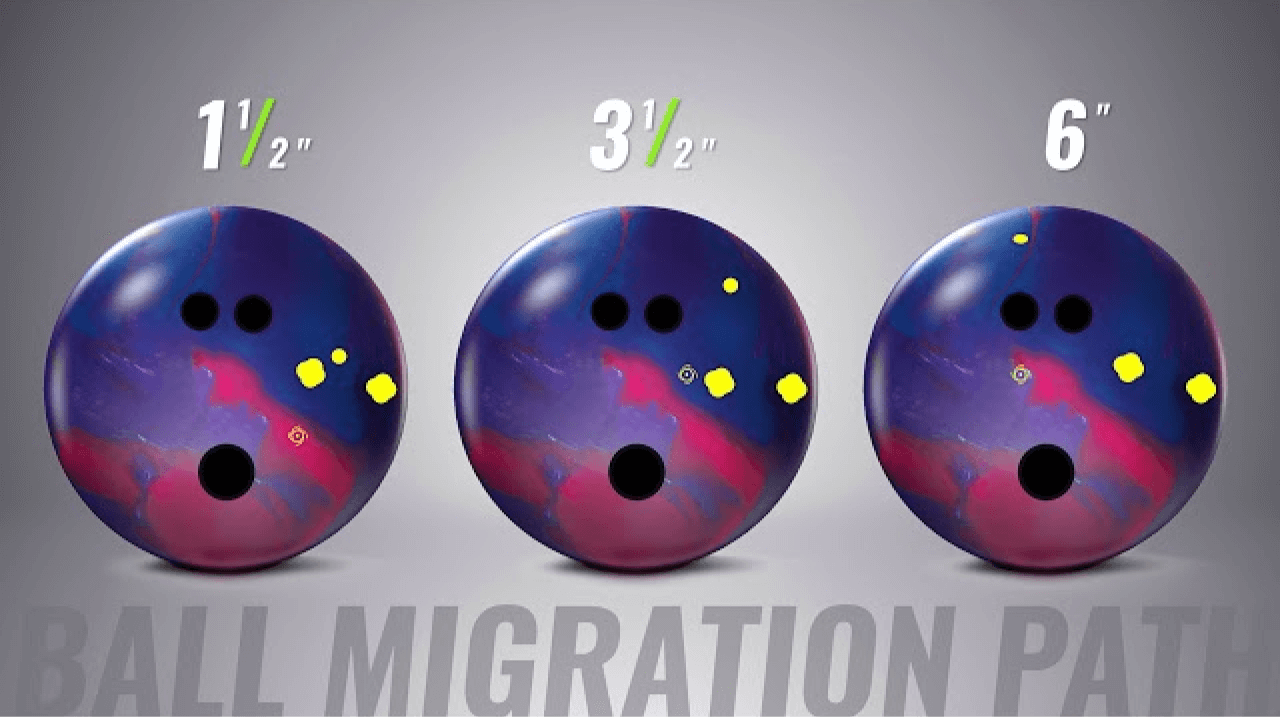
Pin Buffer Layout System Part 2: PSA to PAP Distance
 8:38
8:38
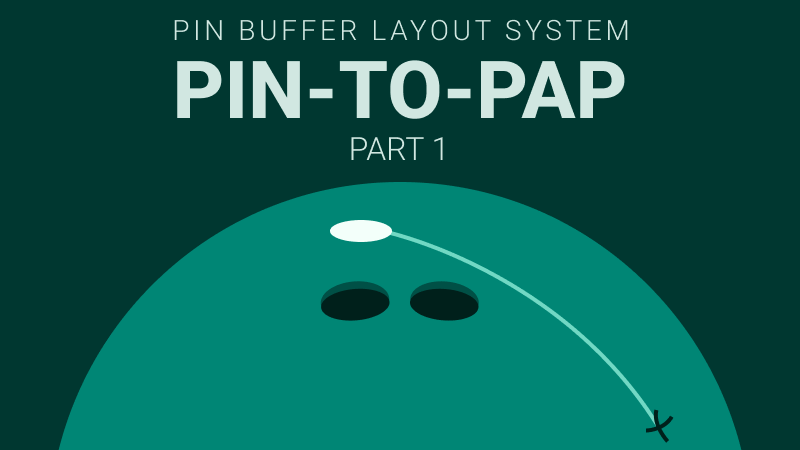
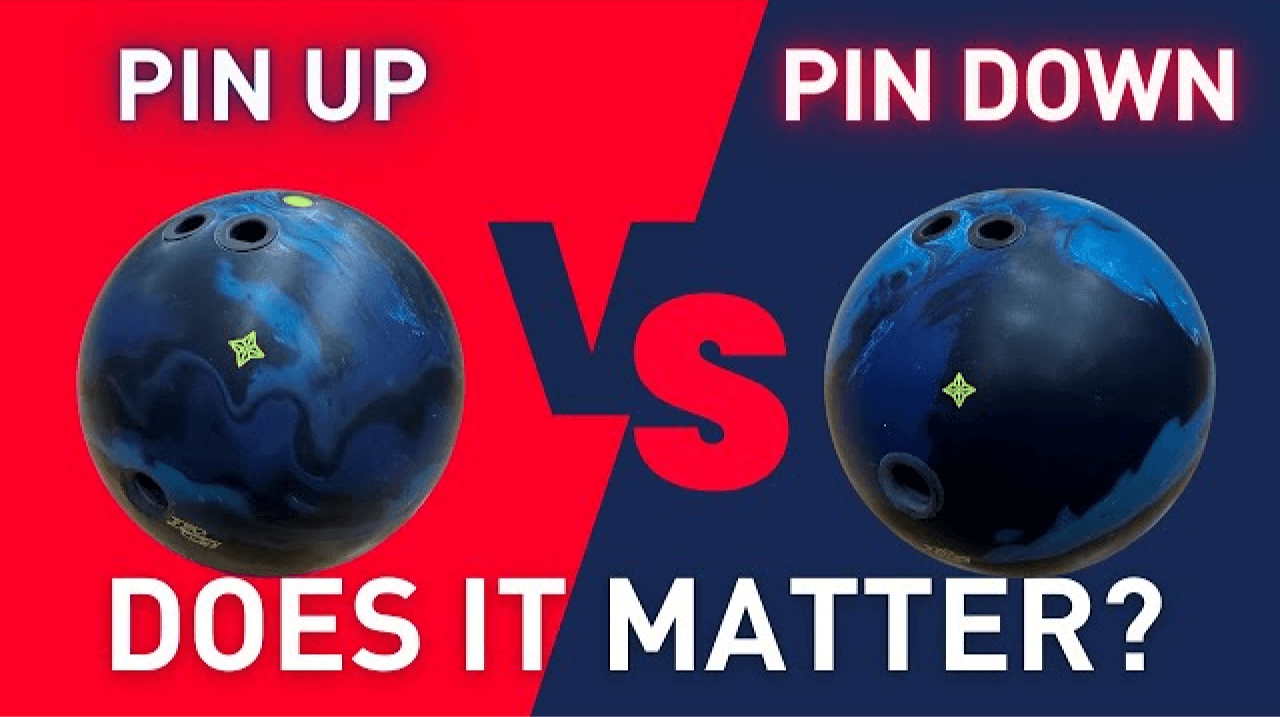
Pin Buffer Layout System Part 1: Pin to PAP Distance
 9:38
9:38
How Layouts Affect a Bowling Ball | X-Cell Comparison
 3:52
3:52
Absolute Power Layout Comparison with Cortez Schenk
 4:23
4:23
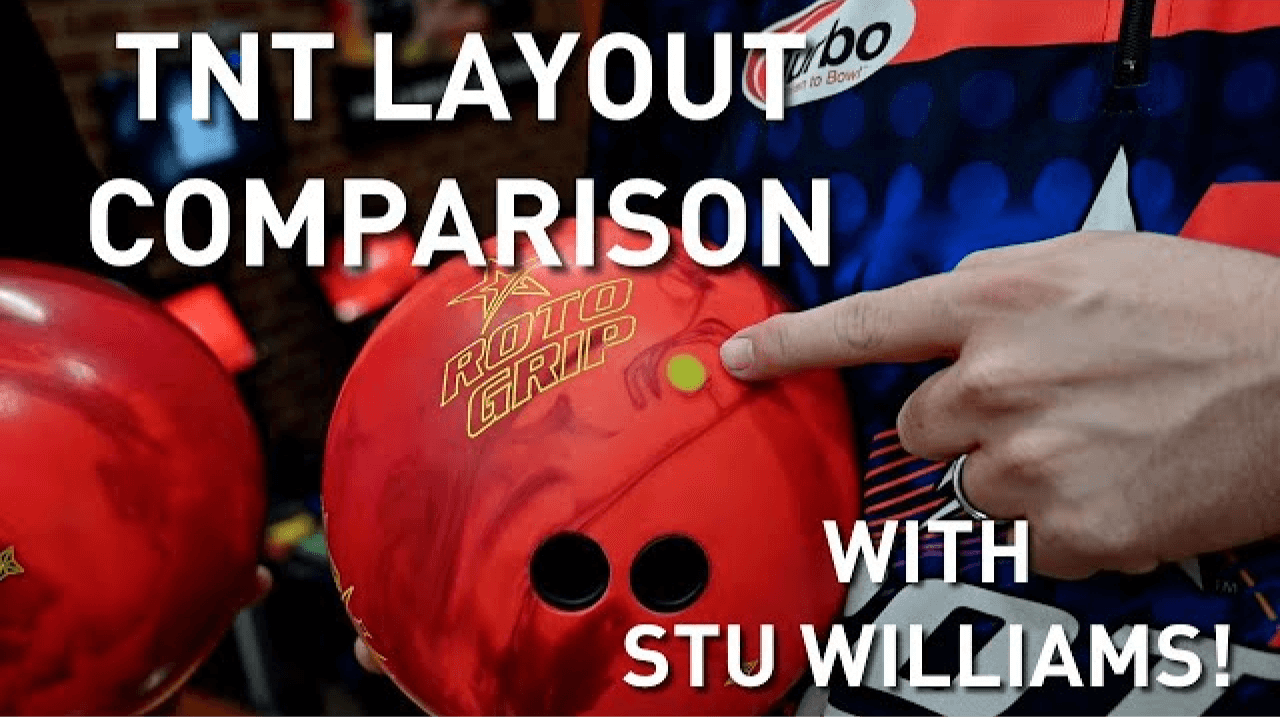
Roto Grip | TNT Layout Comparison
 4:23
4:23
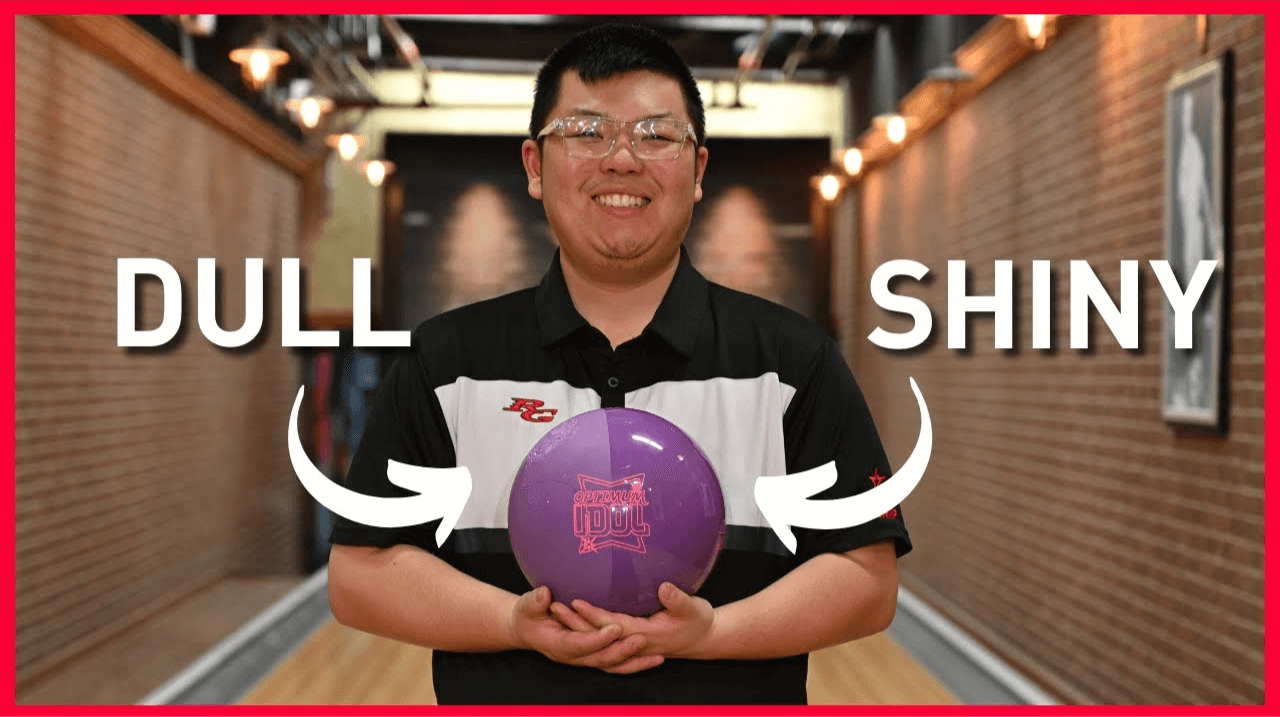
Optimum Idol Surface Comparison
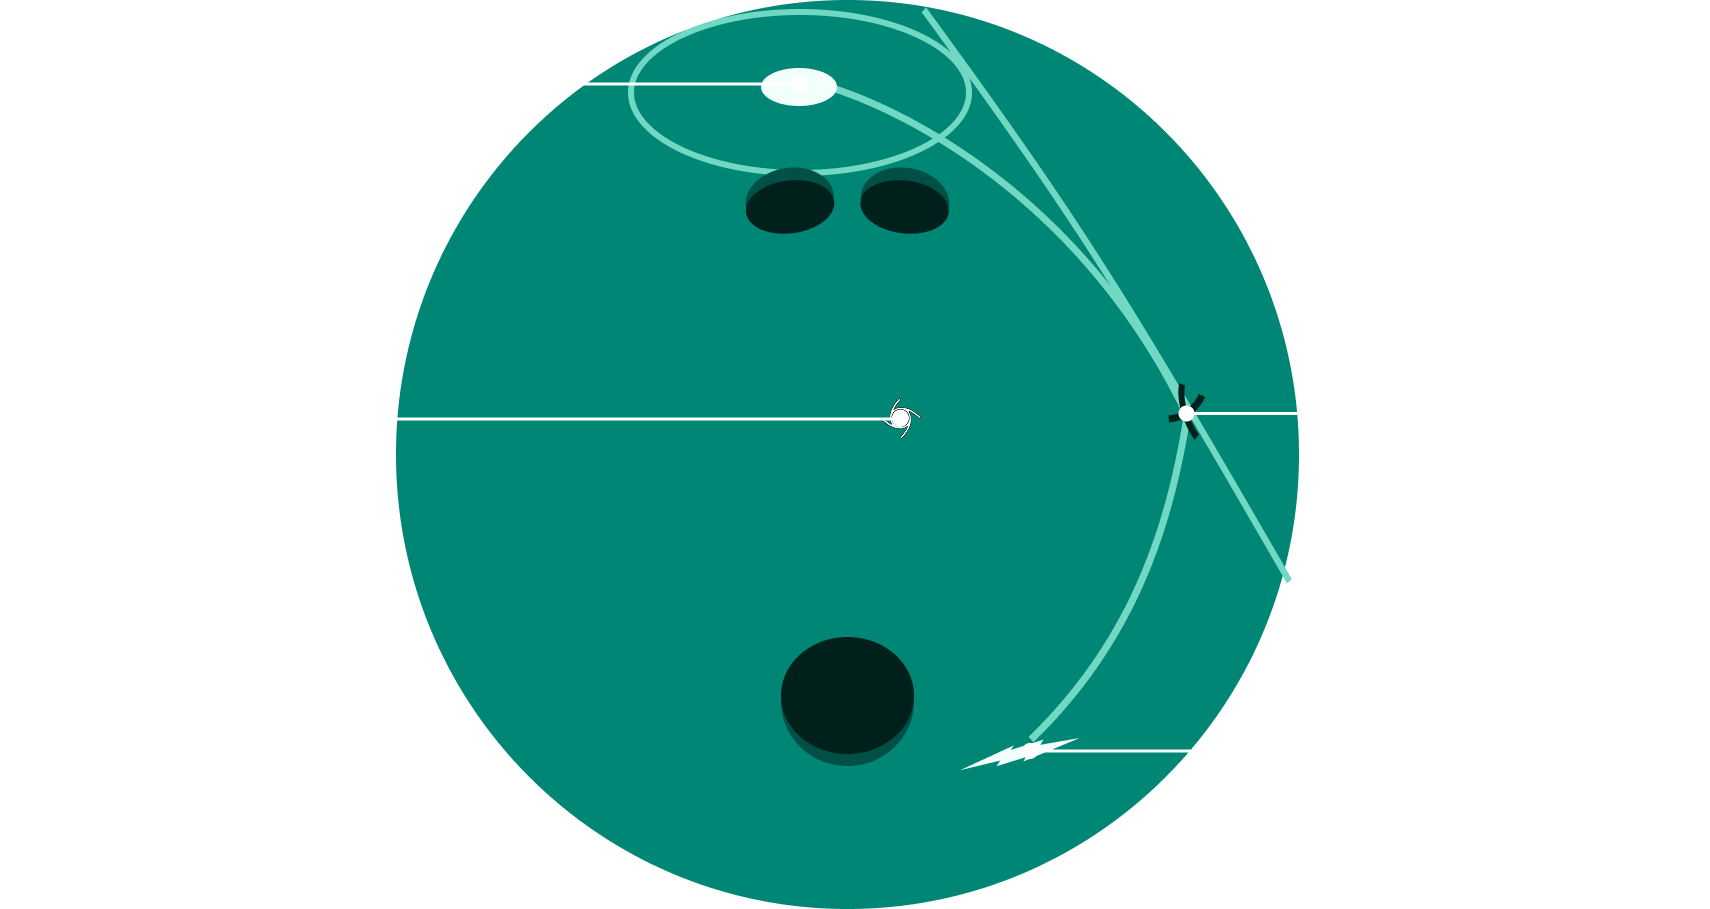
Laying out a bowling ball is a precise process that aligns the core to your unique release. Select a step to see it drawn on the ball. Example shown is a 4 × 5 × 2 layout with a PAP of 5 over 1 up.
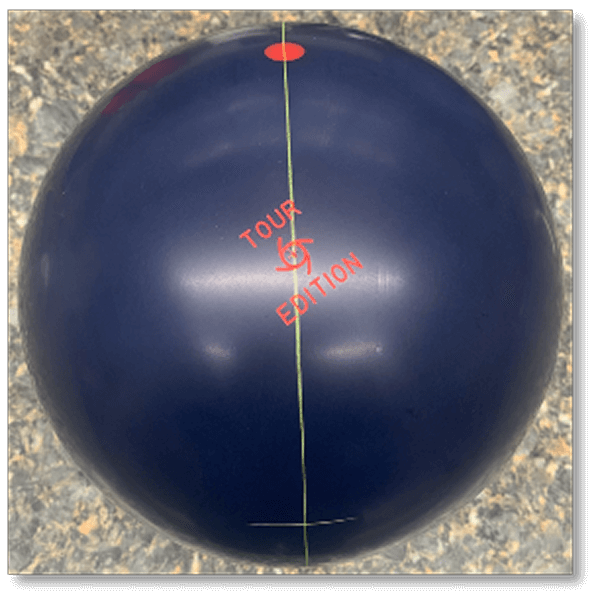
Draw a straight line from the pin through the PSA (mass bias). This line establishes the reference angle for the layout and is the foundation for all remaining measurements.
When a layout doesn't match your release or the lane environment, the ball reacts in unpredictable ways. Most bowlers mistake this for a bad ball — when in reality, the layout simply wasn't built for them.
A bad layout can make the ball skid too long or burn too early — never entering a strong, predictable hook phase.
Layout mismatch can cause violent, uncontrollable backend motion or a flat, forward roll that can't carry the corners.
Speed-dominant and rev-dominant players need different layouts. Using the wrong one leads to constant over/under reaction.
The core wants to rotate a certain way. A poor layout forces it into an orientation that produces weak, inconsistent results.
When the layout isn't suited for you, the ball changes reaction shot to shot. This erodes trust and makes adjusting nearly impossible.
Many bowlers think they bought the wrong ball — but most of the time, the layout simply wasn't matched to their release.
"Most bowlers think they bought the wrong bowling ball. In reality, they bought the right ball with the wrong layout."
Get your PAP measured and your layout drilled correctly by a certified professional.
Find a Pro Shop.jpeg)